Mini Excavator Pins and Bushings: How to Catch Wear Before It Gets Expensive
Mini excavator pins and bushings take a beating — every joint on the boom, arm and bucket rides on a pin turning inside a bushing. They’re cheap parts that take a beating — and if you let them go too long, a cheap job turns into a machine-shop job. Here’s how to check them, how much slop is too much, and why greasing decides everything.
01The Short Version
Small parts, small money — right up until they aren’t.
Pins and bushings are designed to wear. The bushing is the sacrificial part, and replacing pins and bushings is a normal, affordable job.
What turns it expensive is waiting. Run a joint loose long enough and the wear stops happening in the bushing and starts happening in the boom casting itself. At that point you’re not buying parts, you’re paying a machine shop to bore and re-sleeve the hole — and that’s a different order of money on a budget machine.
So the whole game is catching slop early. Which takes about two minutes.
02Where They Are
Every place the machine bends, there is a pin turning inside a bushing.
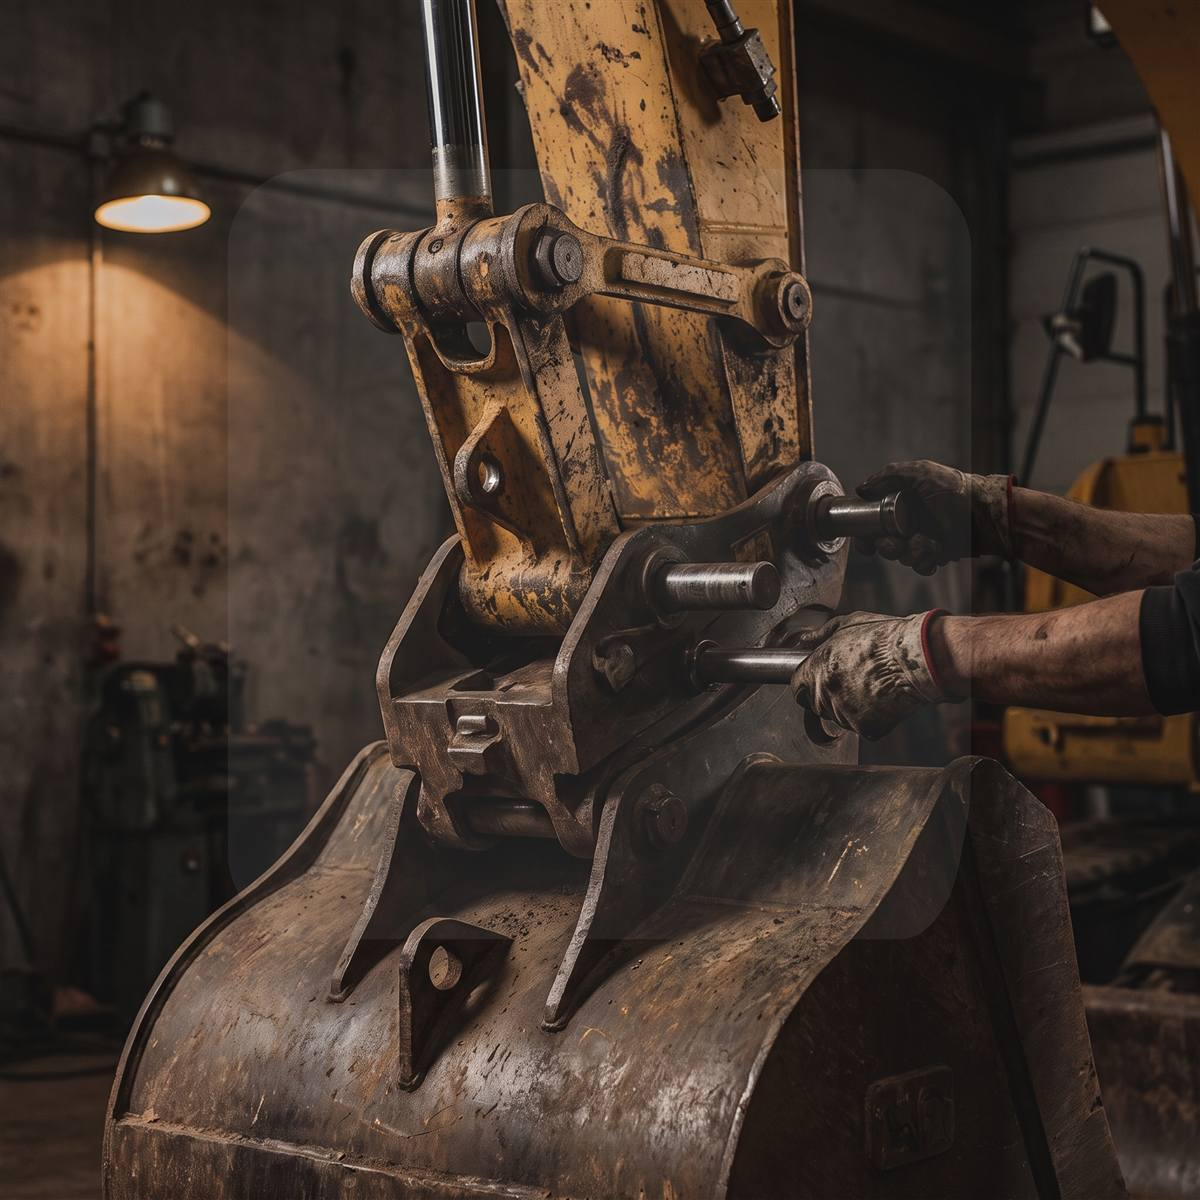
Working from the machine outward, you have the boom foot pin where the boom mounts to the house, which carries the most load of any joint. Then the boom-to-arm pin at the elbow, and the arm-to-bucket pin at the wrist, which is usually the fastest to wear.
Beyond those, the bucket linkage pins in the small dogbone links that curl the bucket, the cylinder pins at both ends of every cylinder, and the blade pivot pins along with the blade cylinder ends.
The bucket end works hardest and sits closest to the dirt, so that is where you will usually see slop first. It is also the easiest joint to check, which is convenient.
03Signs Your Mini Excavator Pins and Bushings Are Worn
Your hands and ears will tell you before your eyes do.
| What you notice | What it means |
|---|---|
| A clunk when you change direction | Play in a joint taking up slack. The classic first symptom. |
| The bucket wobbles side to side | Worn bucket or linkage pins |
| Knocking or grinding under load | Metal on metal where grease should be |
| Hard to place the bucket precisely | Accumulated play across several joints |
| The bucket sits crooked | Uneven bushing wear, often one side worse |
| A fitting won’t take grease | Joint packed with dried grease — wear is already happening |
| Shiny wear marks or grooves on a pin | Grease has been gone a while |
The clunk is the one to act on. A little noise when you reverse the bucket is the machine telling you a joint has play. It is not going to get better, and it is cheapest to deal with the week you first hear it.
04The Slop Test
Two minutes, no tools, and it tells you exactly which joint is worn.
1. Rest the bucket on the ground with light down-pressure so the joints are loaded one way. Engine off.
2. Look at one joint at a time. Pick the pin you’re testing and put your eye on the gap between the pin boss and the linkage.
3. Work the joint gently. With the machine safely off and the attachment supported, try to move the bucket by hand side to side. Any visible movement at the pin is play.
4. Compare joints. A joint with noticeably more movement than its neighbours is your problem child.
5. Check for the tell-tale ring. Wear usually shows as a bright polished band on the pin and an oval, rather than round, bushing bore.
Keep your fingers out of the joints. Never put a hand between two moving parts to feel for play, and never test with the engine running. A boom settling on a finger does not care how careful you were being.
05How Much Slop Is Too Much
There’s a rough industry threshold worth knowing.
As a general guide, once radial clearance in a joint gets past roughly 1.5–2.0 mm — call it a sixteenth of an inch — it’s time to do something. Below that you’re watching it. Above that you’re accelerating wear on everything around it, including the parts you don’t want to damage.
Most operators inspect these joints somewhere in the 250–500 hour range, and plenty of people simply check the bucket end whenever they grease, which is a better habit for a homeowner machine that sits between jobs.
Don’t chase perfection. A brand-new joint has some clearance by design — it has to, or grease couldn’t get in. You’re looking for a joint that’s noticeably worse than the others or has developed an audible clunk, not a joint that isn’t surgically tight.
06Why They Wear Early
One cause dominates, and it’s entirely within your control.
Slop here often shows up alongside other symptoms, so it is worth ruling out soft or drifting hydraulics before you commit to pulling pins. There is a safety edge to this beyond the repair bill. Enough slop in the boom linkage changes how predictably the machine places a load, and the federal requirement that material handling equipment be kept in safe operating condition exists precisely because worn linkage is how attachments end up somewhere nobody intended.
Pins and bushings wear early because they didn’t get greased. That’s it. That’s the headline.
Grease does two jobs: it keeps metal off metal, and it pushes grit and water out of the joint. Skip it and both go wrong at once — you get abrasive wear from the dirt that stayed in, and rust from the water that stayed with it.
The nasty part is the timeline. Nothing bad happens the first time you skip it, or the tenth. Then a season goes by, the grease dries to a crust, the fitting stops taking new grease, and the joint is now grinding itself out with no way to get lubricant in short of pulling the pin.
Working in water is the accelerator. Ponds, creeks, standing mud — water drives grease out of a joint fast. If you’re digging wet, grease every day you work, not on the normal interval. Our maintenance guide lists every point worth hitting.
07The Expensive Version
This is the part most articles skip, and it’s the reason to act early.
Here’s the sequence nobody explains up front. The bushing is meant to be the sacrificial part — it wears, you press in a new one, you carry on. But if the joint runs loose long enough, the pin starts hammering the hole in the boom or linkage itself. Once that hole goes oval, new pins and bushings won’t fix it: they’ll fit loose from day one and wear out fast.
The repair at that point is line boring — machining the hole back round and pressing in a sleeve. It’s a real repair done by real machinists, and on a machine that cost a few thousand dollars, it can stop making economic sense in a hurry.
The tell: if you replace pins and bushings and the joint still has play, the wear has already moved into the bore. That’s why fitting new parts into a badly worn joint is throwing money away — check the bore condition before you order anything.
08Measuring and Ordering Mini Excavator Pins and Bushings
These are sold by dimension rather than by brand, which works in your favour.
Like rubber tracks, pins and bushings are commodity parts. Nobody cares what is painted on your boom as long as your numbers are right.
You need the pin diameter and the pin’s overall length, plus the bushing’s outer diameter, inner diameter and length. You also need to know how the pin is retained — snap ring, keeper plate, bolt-through or grease-fitting collar — and whether the bushing is greased through the pin or through the boss.
Measure the good end of the pin. The middle is where it wore. Calipers on the worn section will have you ordering a pin that is already too small, and you will wonder why the new one is loose.
Take the old parts to a hydraulic or bearing shop and they can usually match them across the counter, or measure carefully and order online. Our parts sourcing guide covers identifying your machine when the seller is not helpful.
09Doing the Job
Honest about what’s a driveway job and what isn’t.
Replacing a bucket pin is genuinely doable at home: support the attachment, remove the keeper, drive the old pin out, clean everything, fit the new pin and grease it. It’s dirty work but it isn’t complicated.
Bushings are harder. They’re an interference fit — pressed in, not slid in — and getting an old one out and a new one in squarely usually wants a press or a proper puller. Beating one in with a hammer is how you end up with a cocked bushing that wears out in a season.
Where I’d stop and pay somebody: boom foot pins on a loaded joint, anything that requires supporting the boom overhead, and any bushing that won’t come out with the tools you own. Nothing on this machine is worth being under when it moves. Support the attachment on blocks, never on hydraulics alone.
10What I’d Do
Straight advice.
I’d check the bucket-end joints every time I grease the machine. It costs nothing, it’s the joint that wears first, and catching a clunk early is the entire difference between a parts job and a machine-shop job.
I’d write the pin and bushing sizes down when the machine is new and healthy — measure them once, put the numbers on tape in the toolbox. Measuring a worn pin later gives you the wrong answer, and you’ll be doing it in worse conditions.
I would not stock spare pins up front. They’re not a failure that strands you, and you’ve got time to order once you know what you need.
And if a joint clunks, I’d deal with it that month rather than at the end of the season. Everything about this job gets more expensive the longer you leave it, and that’s not a sales pitch — it’s just how ovaled holes work.
Bottom line: pins and bushings are the cheapest wear item on the machine and the one most likely to turn into a real repair through pure neglect. Grease them, listen for the clunk, and measure the good end of the pin. Do those three things and this is a cheap afternoon instead of a trip to a machine shop.