Chinese Mini Excavator Assembly: What You Actually Have To Do
Most arrive mostly assembled, and the real work is not building it. It is inspecting before you sign and re-torquing bolts the factory already fitted.
01The Short Version
Most imported mini excavators arrive mostly assembled. “Mostly” is the word doing the work, and what is left is usually half a day rather than a weekend.
Typically the machine arrives as a complete unit with the tracks on and the boom attached, and what you are doing is fitting a bucket, connecting a few hydraulic lines, bolting on a canopy or cab fittings, charging and connecting the battery, checking every fluid, and then going round the entire machine with a wrench.
That last one is the part that actually matters. The most important job in the first hour is not assembly, it is re-torquing bolts the factory already fitted. Section 6.
The other thing that matters is doing your inspection before you sign anything and before you start taking packaging off. Section 3. Once you have signed a clean delivery receipt, a damage claim gets very hard.
02What Actually Arrives
It varies more than you would like, which is why you ask before you buy.
Depending on the seller and how it shipped, a small machine typically turns up one of three ways:
On a pallet or skid, shrink-wrapped and crated at the ends. The common one for a machine shipped domestically from a US warehouse. Mostly built.
In a full wooden crate. More common on a direct container import. More packaging to remove, same machine inside.
Strapped directly to a flatbed. Which means it has to be driven or dragged off, and that needs planning before the truck shows up.
What is almost always separate: the bucket, sometimes the canopy or ROPS structure, the battery (often shipped dry or disconnected), the manual and tool kit if there is one, and any attachments you bought.
The single best question to ask the seller before you pay is simply: “What exactly will I have to do to it when it arrives, and what tools do I need?” A seller who answers that clearly is a seller who has done this before. A vague answer is itself information — the same test as the parts questions that separate the real operations from the rest.
Also settle how it comes off the truck. Many freight deliveries are kerbside with no equipment, and delivery day and getting it off the truck is worth reading before the appointment, not after.
03Inspect Before You Sign, Not After
Ten minutes here is worth more than everything else on this page.
The driver will want a signature. Your leverage exists entirely in the moments before you give it.
Photograph it on the truck, before anything is touched. Wide shots and close-ups. Include the straps and packaging intact.
Walk the whole machine. Look for bent rams, dented panels, cracked glass, oil on the deck or pooled in the packaging, scraped paint that suggests it shifted in transit, and crushed packaging corners.
Check the count. Bucket present? Battery? Manual? Toolkit? Attachments you paid for?
If anything is wrong, write it on the delivery receipt before you sign. Specifically, in words, on the paperwork. “Dented left panel, oil visible under machine.” A signed clean receipt is you agreeing it arrived perfect.
Do not let the driver hurry you. They are on a schedule and you are the one who owns the machine afterwards.
04What You Need On Hand
Have this ready before delivery day, because a missing 24mm socket stops everything.
Metric sockets and wrenches, a proper range, to a decent size. These machines are metric throughout, and the bolts holding the important things on are bigger than a typical car toolkit covers.
A breaker bar for the larger fasteners.
A torque wrench. This is the one people skip and should not, because “tight” is not a specification and the bolts that matter here are the ones holding the tracks and the boom on.
Check Price on a 1/2 inch Torque Wrench →
A grease gun and grease, because the first job after assembly is greasing every point on the machine, and factory grease is not a given.
Fluids to top up with — hydraulic oil of the right grade and engine oil. Machines regularly arrive low, or shipped deliberately low.
A battery charger. A battery that has sat in a container for six weeks is rarely ready to crank an engine.
Drain pan, rags, gloves, and a jack or blocks.
Another person. Buckets and canopies are heavy and awkward, and pins go in far more easily when somebody can move a lever an inch while you line it up.
05The Order to Work In
Follow this sequence and nothing has to be undone.
1. Get it on level, firm ground with room to swing a full circle. Do this before you remove packaging, not after.
2. Strip packaging carefully and keep it until you are finished. Small parts, pins, bolt bags and the manual have a habit of being taped to the inside of a crate panel. Do not skip-bin anything until the machine is running.
3. Battery. Charge it fully before connecting. If it shipped dry with acid separate, follow the instructions that came with it. Connect positive first, negative last, and smear the terminals.
4. Fluids, every one, before anything turns. Engine oil, hydraulic oil, coolant if it has any, fuel. Check them on level ground. Machines ship low and starting a dry engine is a short story with a bad ending.
5. Grease every point. Every zerk you can find, including the ones under the turntable. Factory grease is optimistic.
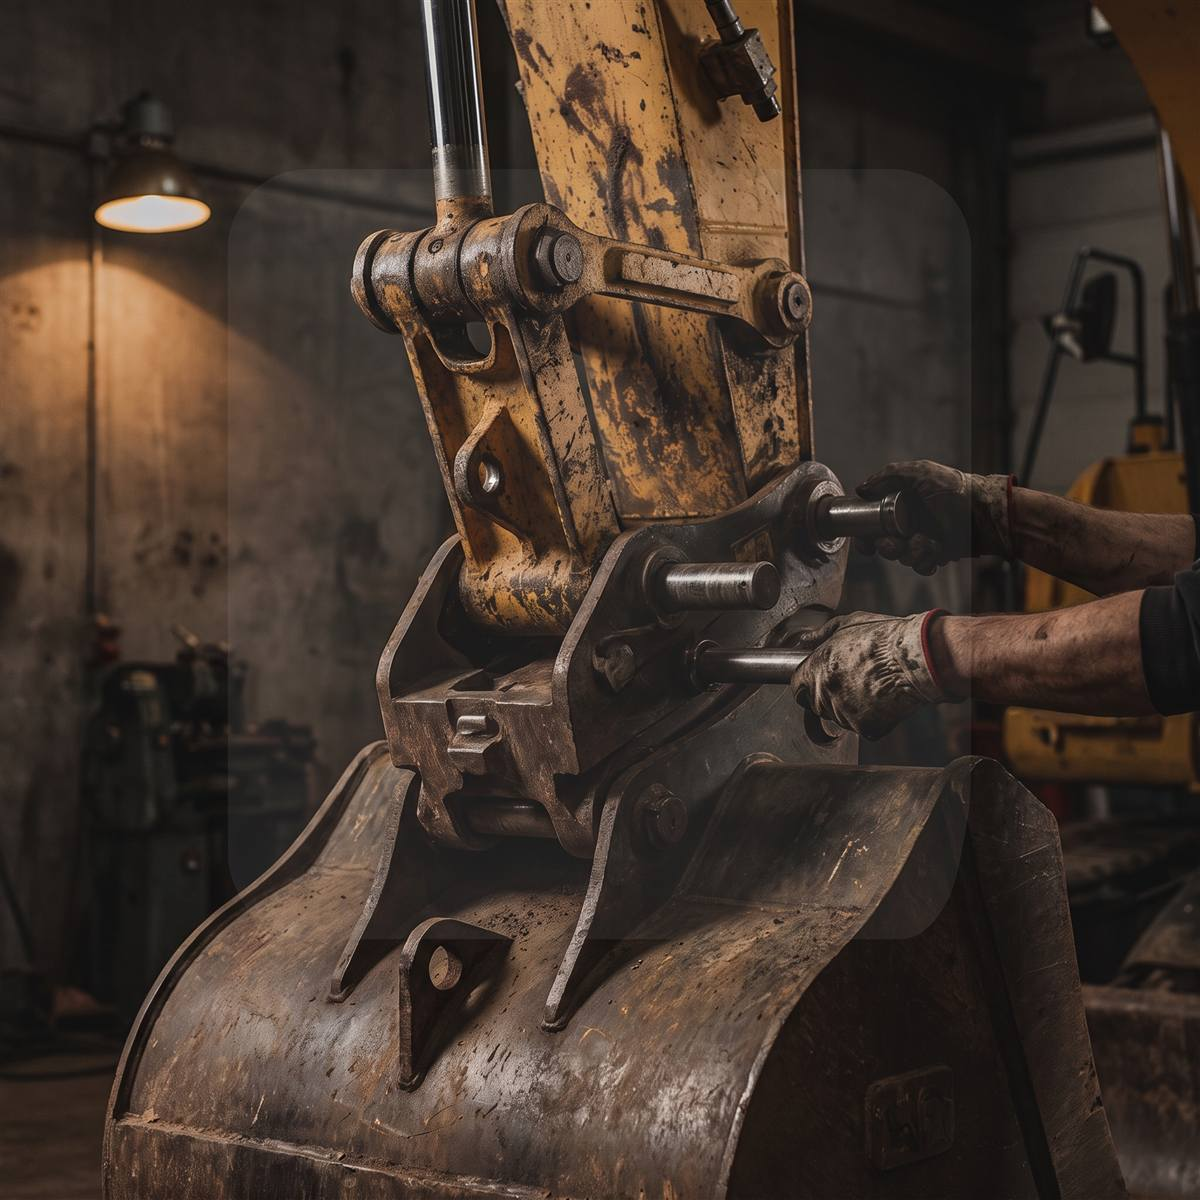
6. Fit the bucket. Pins and retainers. If there is a coupler involved, make sure you understand how it locks before you pick anything up — couplers and the safety question worth taking seriously.
7. Connect any hydraulic lines that shipped disconnected, usually the auxiliary. Keep everything scrupulously clean. A speck of grit here ends up in the control valve, and the clearances in there are smaller than you think.
8. Canopy, mirrors, seat, any trim.
9. Go round every bolt. Section 6. Do not skip this.
10. Then start it. Section 7.
06Bolts: The Part That Bites Everyone
The most common early failure on an imported machine is not a part breaking. It is a fastener that was never properly tight, working loose.
These machines are assembled quickly, then shipped thousands of miles on a vibrating deck. Both halves of that sentence loosen things.
Before first use, go round the whole machine with a wrench. The ones that actually matter:
Track and final drive bolts. The sprocket and drive housing fasteners. These coming loose is how a sprocket destroys a final drive, and that is the expensive failure.
Swing bearing bolts, top and bottom. The entire upper structure hangs on these.
Boom, arm and cylinder pin retainers. The pins themselves are held by small bolts or clips that are easy to overlook.
Counterweight bolts.
Engine mounts, and the hydraulic pump to engine coupling.
Every hydraulic fitting, checked for weeps rather than wrenched blindly tight — overtightening a fitting damages the seal and causes the leak you were trying to prevent.
Then do it again after the first few hours, and again after the first day or two. Things that have been stressed and heated settle. The full walkaround and the re-check schedule is the dedicated version of this, and it is worth following properly.
Where a torque figure is published, use it. Where it is not — which on these machines is often — the honest advice is snug, consistent, and checked repeatedly rather than guessed at once with a long bar.
07Fluids and the First Start
Slow down here. The first ten minutes set up the next thousand hours.
With fluids checked and bolts done:
Start it and let it idle. Do not rev it, do not touch a lever. Let it come up to temperature at idle while you stand and listen and look for leaks.
Then work every function slowly through its full travel, several times, with no load. Boom, arm, bucket, blade, swing both directions, both tracks both directions. You are doing two things: circulating oil through every cylinder and hose, and pushing shipping air out of the system.
Expect it to feel jerky and uneven at first. That is normal and it is mostly air and cold oil, not a fault — why controls feel rough before they feel right.
Re-check the hydraulic level after cycling everything. It will usually have dropped as oil filled the cylinders and lines. Top it back up.
Then walk round again looking for leaks, now that everything has had pressure in it.
Only then start doing light work. And keep it light for a while, because the break-in period is real on these engines.
08The First Fifty Hours
A new machine is not a broken-in machine, and imports earn their reputation in this window.
Work it, but gently. Vary the load rather than sitting at full throttle on one function. Avoid long periods of heavy digging on day one.
Then, around the interval your manual specifies, change the engine oil and filter early. Break-in generates metal, and getting it out early is cheap insurance.
Through this whole period: check bolts, check fluids, check for leaks, and grease everything on schedule. The schedule that actually keeps one of these running starts here, not at hour 100.
Most of the horror stories about imported machines are first-fifty-hours stories, and a good share of them are preventable with the checks on this page.
09When Something Is Missing or Broken
It happens often enough to plan for.
Stop and document before you improvise. Photographs, the delivery paperwork, the packing list, and the order confirmation.
Contact the seller immediately, in writing. Same day. Email, not a phone call, so there is a record. Be specific and attach photos.
Do not run it with something important missing. A missing pin retainer or a loose track bolt is not a “get it going and sort it later” situation.
Small hardware you can source locally — a missing bolt is faster from the farm store than from a supplier overseas. Match the grade, not just the thread.
For anything structural or hydraulic, wait for the right part. And if you have no documentation to identify it, work down from the data plate to the measurements.
Shipping damage claims have time limits, and that noted exception on the delivery receipt from section 3 is the thing that makes them work. Also keep the general requirements for operating material handling equipment in mind before you decide a machine is safe to use with something missing.
10Questions People Ask
The ones that come up in the week before delivery.
Do Chinese mini excavators come assembled? Mostly, yes. Expect to fit a bucket, connect the battery, check fluids, possibly fit a canopy, and re-torque everything. Half a day for most people.
How hard is the assembly? Not hard. It is ordinary wrench work. The difficulty is weight and awkwardness rather than complexity, which is why a second person helps more than more tools.
Do I need a mechanic? No, if you are comfortable with hand tools and willing to be methodical. If you are not, the assembly is not the problem — ownership is, and that is worth being honest with yourself about before buying.
How long does it take? Three to six hours for most small machines, plus charging the battery, which you should start the day before.
What if there is no manual? Common. Ask the seller for a PDF, and photograph every plate on the machine while it is clean so you can identify components later.
Can I use it the same day? Usually yes, lightly, once fluids are right, bolts are checked and you have cycled everything. Resist the urge to start digging the pond that afternoon.
11Bottom Line
Inspect before you sign, check every bolt, and take the first start slowly.
Assembly on these machines is genuinely not the hard part. It is a few pins, a few bolts and a couple of hoses, and most owners are done in an afternoon.
What separates a machine that runs for years from one that gives somebody a story is the unglamorous hour: going round every fastener before first use, getting the fluids right, greasing everything, and then doing it all again after the first few hours.
Do that, and the first fifty hours are uneventful. Skip it, and you become one of the reviews.