Grading and Levelling With a Mini Excavator: What It Can Actually Flatten
Digging rewards force. Grading rewards restraint. The bucket does the cutting, the blade does the tidy, and trusting your eye on sloping ground is how you end up doing it twice.
01The Short Version
Grading is not digging. It is the opposite of digging, and that is exactly why people are bad at it for the first week.
Digging rewards force. Grading rewards restraint, a light touch on two levers at once, and knowing where level actually is before you start pushing dirt around.
A mini excavator will grade, and on a small job it will do a perfectly good job. But understand what you have: the blade is a backfill and clean-up tool, not a dozer blade. It has no float, it is not very wide, and it will not hold a grade on its own.
The three things that actually decide whether your finished surface is good: a reference you can trust, soil at the right moisture, and the discipline to do thin passes. Miss any one and you will chase it all afternoon.
And the honest limit up front: if you are levelling more than about a quarter acre, or the dirt needs to travel more than fifty feet or so, this is the wrong machine. Sections 8 and 9.
02What the Blade Can and Cannot Do
Everybody assumes the blade is a small dozer. It is not, and knowing the difference saves a lot of frustration.
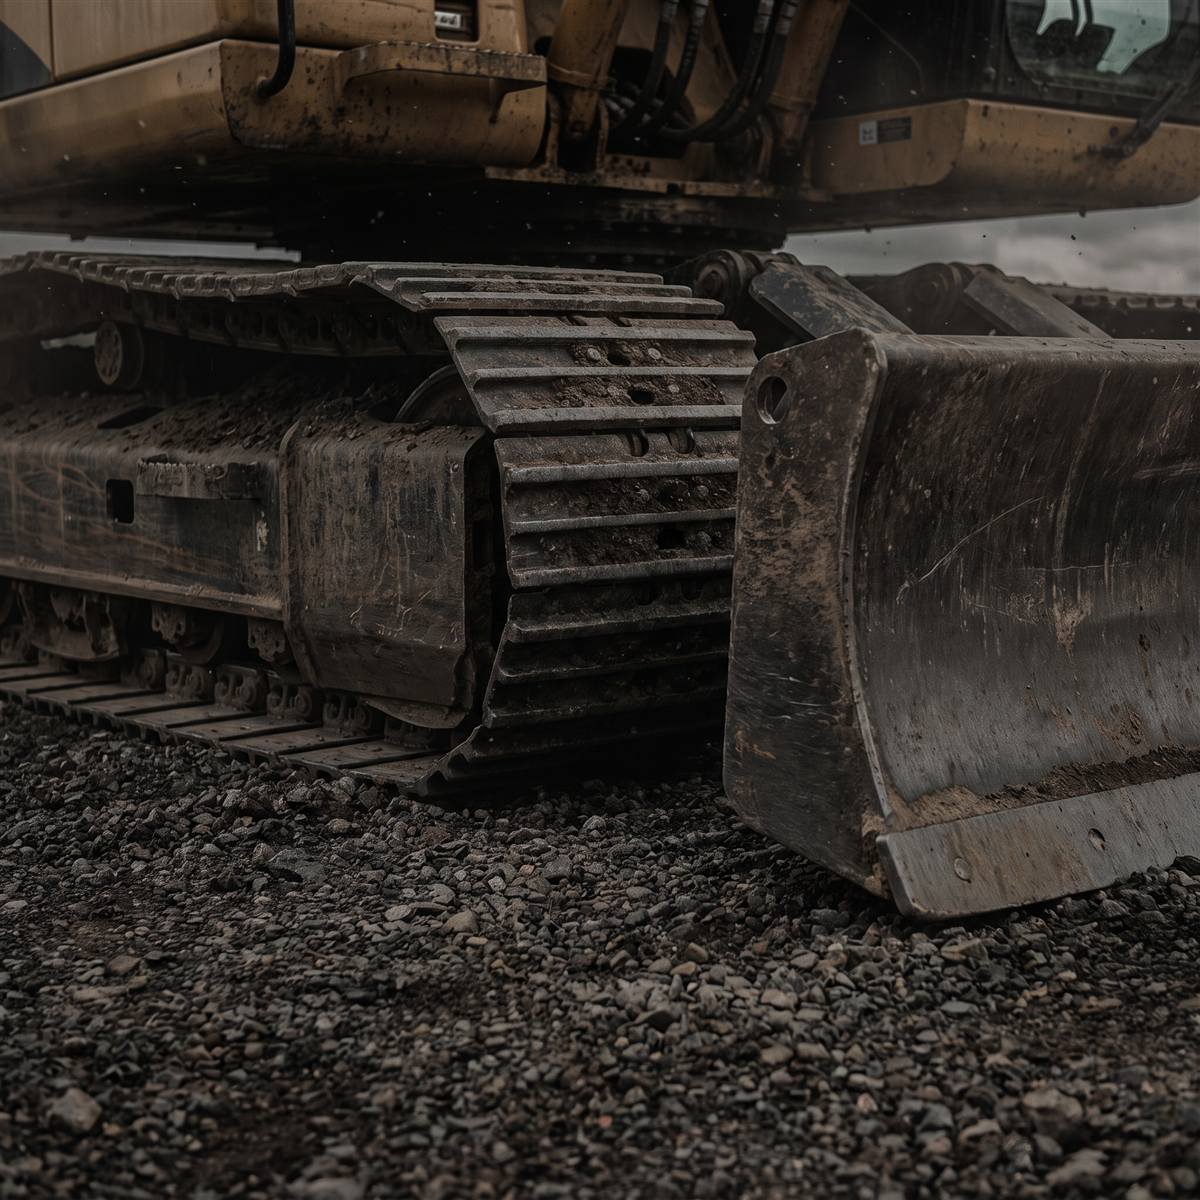
What it is for. Pushing spoil back into a trench. Spreading a pile you have already dumped roughly where it needs to go. Cleaning up behind yourself. Holding the machine steady and stopping the nose lifting when you dig or lift.
Why it is not a dozer blade. Three reasons. It has no float, so it does not ride the surface on its own — you are holding its height with a lever the whole time. It is only as wide as the machine, so you are grading in narrow strips. And the machine has no weight to speak of, so in anything firmer than loose fill the blade climbs rather than cuts.
The angle thing. Most small machines have a fixed blade. Some have a tilting or angling blade, and if yours does, that is genuinely useful for shedding material to one side instead of pushing it all straight ahead.
The practical consequence: you will do far more grading with the bucket than with the blade, and the blade is mostly for the final tidy. Which surprises people, and leads straight to section 3.
03Grading With the Bucket Is the Real Skill
Two levers, moving together, at a speed that feels unnaturally slow. That is the whole technique.
To cut a flat surface with the bucket you drag it toward you while simultaneously raising the boom and adjusting the bucket angle to keep the cutting edge flat and level. Three functions, coordinated, continuously.
If that sounds hard, it is — for about a day. Then it clicks. What makes it click faster:
Idle down. Less oil flow means everything happens slower and you get more time inside each movement. Learn it slow, speed up later. This is the single biggest tip and almost nobody does it.
Use a wide bucket if you have one. A grading or ditching bucket — wide, shallow, usually no teeth — is the right tool and it is a different thing from your digging bucket. Teeth leave gouges. Which buckets you actually need covers the difference properly.
Drag, do not push. The machine is built to pull material toward itself. Pushing away from you with the bucket is slow, inaccurate, and hard on the machine.
Work backwards. Start at the far end and track backwards out of your own work, so you are never driving over the surface you just finished.
If the controls feel too abrupt to do any of this, that is often not you — cold or dirty hydraulic oil makes fine control nearly impossible, and what is actually going on with jerky controls is worth ruling out first.
04You Cannot Grade to Nothing: Set a Reference First
The eye is a liar on sloping ground. Every bad grading job starts with somebody trusting it.
Your eye calibrates to whatever is around it. On a site that already slopes, a surface that looks dead level to you can be out by a long way, and you will not find out until water sits on it.
So establish a reference before you move any dirt. In rough order of cost:
String line and a line level. Two stakes, a mason line, a two-dollar line level hanging on it. For short runs this is genuinely all you need and it is what most people should start with.
Grade stakes marked with paint. Drive stakes across the area, mark your finished height on each one, and grade to the marks. Marking paint is the cheapest thing in this entire guide and it is the one that stops you guessing.
Check Price on Inverted Marking Paint →
Get the inverted kind that sprays downward from a wand or upside down in your hand. Ordinary spray paint will have you bent double all afternoon.
A rotary laser level. This is the real answer for anything over a long run, and it is the most expensive thing on this page by a distance. A laser on a tripod and a receiver on a grade rod tells you your exact height anywhere on the site without a second person.
Check Price on a Self-Levelling Rotary Laser Kit →
Be honest with yourself about whether you need it. If you are levelling one shed pad, a string line does the job for the price of a coffee. If you are grading a driveway, a pad and a drainage run and expect to do more, a laser pays for itself in not having to redo things. Rental yards also hire them by the day, which is the sensible middle answer for a one-off.
05Flat Is Usually the Wrong Target
The commonest grading mistake on a rural property is making something perfectly level that then holds water.
Almost nothing outdoors should be dead flat. Water has to go somewhere, and if you do not decide where, it will decide for you — usually toward a building.
So before you grade anything, answer one question: when it rains hard, where does the water leave? Then build a deliberate fall toward that.
The principle is simple even though the numbers are local: ground next to a structure should fall away from it, driveways should shed to one side or crown in the middle, and a flat pad still wants a slight tilt so it drains.
I am not going to quote you a slope figure, because the right one depends on your soil, your rainfall and in some cases your local code — the same reason the trenching guide refuses to give you a depth. Ask your county, or look at what works on neighbouring properties that have been there thirty years.
One thing worth flagging: moving significant dirt around low wet ground can put you into permit territory, because the Clean Water Act permit programme covers discharging fill material into wetlands and waters and the soggy corner you are trying to fix is exactly the sort of ground that can qualify. Two phone calls before you start beats a letter afterwards.
06Soil Moisture Decides Your Day
The same ground is three different jobs depending on how wet it is, and you do not get to choose the weather.
Too dry and you cannot get it to compact or hold a shape. It moves like sand, dusts everywhere, and the surface never firms up.
Too wet and it smears, sticks to the bucket, pumps under the tracks and turns the site into a mess that takes a week to dry. Driving over saturated ground also wrecks the structure of the soil you are standing on, which is a problem you cannot grade your way out of.
Just right is damp enough to hold together when squeezed in your hand but not so wet it leaves water on your palm. That is the old field test and it is still the right one.
The advice nobody likes: wait. A day or two after rain on clay and the same job goes from miserable to straightforward. Why dry clay is worse than wet clay is the longer version.
07Thin Passes, and Knowing When to Stop
The temptation is always to take more off in one go. It is always slower.
A light machine taking a deep cut stalls, climbs, or digs a hole — and then you are fixing the fix. Shallow passes cut cleanly, leave a better surface, and are far easier to control.
Overlap every pass. Like mowing. A strip you think you got usually has a ridge on the edge.
Get off and look. Regularly. From the seat you are looking down a slope at a surface you want to believe is flat. Walk it with a straight board.
Stop before you are tired. Grading is the one job where concentration is the tool. The last hour of a long day is when people gouge the surface they spent all afternoon getting right.
And remember what the machine is standing on. Every time you spin it on finished ground you undo work — what tracks actually do to a surface applies to a graded pad as much as to a lawn.
08Grading Is Not Compacting
The thing people discover six months later, usually as a dip in the middle of something they built.
A graded surface is loose material sitting at the right height. It is not a surface you can build on. Dirt that has been dug and respread is full of air — it swells when you dig it, and it has to go back in layers and be compacted to get that air out again.
Tracking over it does something, but it is not compaction and nobody serious pretends otherwise. For anything carrying weight — a shed, a slab, a driveway — material goes back in thin layers, each compacted properly with a plate compactor or roller, usually hired.
Skip it and you get settlement. Settlement under a slab is not a grading problem any more, it is a concrete problem, and it is expensive.
If the thing you are grading for is a building, read what the machine can and cannot do for footings first, because the order of operations matters.
09When It Is the Wrong Machine
Said plainly, because the honest answer saves more money than any technique on this page.
Dirt has to travel more than about fifty feet. A mini excavator moves material by picking it up, swinging, and setting it down. Beyond its reach plus a short track it becomes a shuttle service and you spend the day doing laps. That is skid steer, tractor-and-box-blade, or dozer work.
More than roughly a quarter acre of levelling. Possible. Tedious. You are paying with weekends.
Final finish grade on a lawn. A box blade or landscape rake does in one pass what takes you an hour of careful bucket work, and does it better.
Any serious cut and fill. Moving a bank, cutting a terrace, building a pad from scratch. Hire it out or hire a bigger machine — the buy-versus-rent maths usually says the same thing.
Where the mini genuinely wins is precision in tight places: right up against a building, inside a fence line, around trees, in a backyard a dozer will never reach. That is its actual job, and a dozer cannot do it at all.
10Questions People Ask
The ones that come up the first time somebody tries to make something flat.
Can a mini excavator level a yard? A small one, yes, with patience and a wide bucket. A whole acre of lawn, no — that is tractor work. Be realistic about area before you start.
Do I need a grading bucket? It makes a large difference and it is one of the cheaper attachments. Wide, shallow, no teeth. If you are doing any amount of this, get one.
Can I grade with the blade alone? For spreading a loose pile, yes. For cutting a grade into undisturbed ground, no — no float, not enough weight. Bucket cuts, blade tidies.
How flat can I realistically get? With a string line and care, good enough for gravel, a shed pad or landscaping. For a concrete slab the forms and the screed set the real level — you are getting it close and clean.
Why does my graded area hold water? Almost always because it is genuinely flat rather than slightly sloped, or there is a lip left at the downhill edge. Walk the perimeter and look for the ridge your last pass left.
Rent a laser or buy one? Rent for a single project. Buy if you have a list, because you will use it for footings, drainage and fence lines too.
11Bottom Line
Set a reference, work in thin passes, build in fall, and stop before you get tired.
A mini excavator grades well in tight, precise places and badly over large open ones. Know which job you have before you start, because no amount of technique turns it into a dozer.
The bucket does the cutting, the blade does the tidy, and your string line or laser does the thinking. Trusting your eye on sloping ground is the one mistake that guarantees you do the job twice.
And if the surface will carry anything heavier than a wheelbarrow, grading is only step one — compaction decides whether it is still flat next year. The full list of what these machines realistically handle puts this job in context.